Showing posts with label recipe. Show all posts

Monday, 4 May 2015

Beer and Bread

 Lately I've taken up baking and gardening. I did a whole bunch of weeding over the weekend and I made two loaves of stout bread with a recipe I frankensteined together from the one on the side of the bag of flour, one online and the instructions on my yeast.

 I got active dry yeast, and that's the kind you need to activate with warm water and sugar before putting it in with the flour. You can get the kind that you only need to throw in, but I kind of like this kind. It makes me feel old fashioned. Besides, I like the smell of yeast. and seeing it post proving is cool, it's so foamy.

 The kind of stout I used in my bread is Sadler's Mud City Stout. It's a lovely beer by itself, and it's so good in this bread,


 Here's the recipe:

 Ingredients:

 500 grammes strong white bread flour
 150 ml warm water
 150 ml Sadler's Mud City Stout (other stouts are available, just make sure it's nice.)
 30 grammes butter
 1 tablespoon dry active yeast
 1 and a quarter teaspoons salt
 1 teaspoon sugar

 Mix the flour and the salt and rub the butter in.

 Dissolve the sugar into the warm water and sprinkle the yeast in. Stir it together and stash in a wamr place for 10-15 minutes.

 After that, warm the stout up (I did this in a pan) to the point where you can comfortably stick your finger in, but it still feels warm. Mix into the now frothy yeast mixture and add to the flour.

 Get it all combined and either knead on a flour surface for around ten minutes or stick it in a kitchen aid and watch in mild terror for about five. Whichever you feel more comfortable with. I've done both and they both work well, I just prefer hand kneading. Either way, make sure the dough does the window pane thing, and once it gets to that point, put in a bowl (oiled or not, up to you) cover in clingfilm and stash in a warm place for an hour.

 Get it out, put the dough on a well floured surface and knock it back. I like to gently press on it with my knuckles (not the base ones, it's not a boxing opponent), shape and stick on a baking tray (or in a loaf tin, again, your choice) gently cover with clingfilm and leave to rise again for an hour.

 Pre heat the oven to gas mark 7/8 (I have a slightly wonky oven, so go for seven if yours is fine) a couple of minutes before the second rise is done. Then stick in for about half an hour.

The finished article
 You'll know when it's done if you pick it up (with an oven glove, obv) and tap the bottom, if it sounds hollow, then it's done. If it's in a tin, uh... I don't know... I never bake bread in tins. Ask Paul Hollywood, he'd know.

 Also, if you're worried that the bottom isn't baking right on a free standing loaf, stick it upside down in there for a few minutes, it'll dry out.

 Stick it on a cooling rack and wait for it to cool. maybe an hour or so.

 Then enjoy with whatever you like. I recommend it with soup, cheese and branston, or even kimchi.


 If you want to use a different kind of yeast, follow the manufacturer's instructions, but keep the liquid amounts the same.

 You can experiment with more stout, or less, but I recommend starting with this, because it's a good midpoint.

 So go and bake some tasty stout bread.

Monday, 16 June 2014

Kimchi Fried Beans

  So, I finally got my hands on some more kimchi, so it's finally time to give you the recipe for one of my favourite meals.

Yum.
 It's quick, easy, pretty damn healthy and super delicious.

 It contains at least two of your five a day, and since kimchi is a fermented food it has extra health benefits.

 Here is what you'll need:


 Serves one.
  • Cannelini beans- half a 400 gram can
  • Mat kimchi- this is down to personal preference
  • Spinach- a couple of handfuls
  • Spring onions- two or three decently thick stalks chopped
  • Sesame oil for frying
 Now, you can use another kind of oil if you want, I just love the way sesame oil smells when I cook with it, and it does impart a good amount of flavour.

 Also, if you have an extractor fan, turn it on.

 First things first, heat the beans.


 Empty half of the can in there and heat it through. Once hot, drain.

 Now, turn on the big scary hob.

Disclaimer: Yours does not need to look
like the fires of Hell. In fact, it's better if it doesn't.
 Heat up a large frying pan and pour in a small amount of oil. You really don't need much, about a teaspoon should do it, if not less.

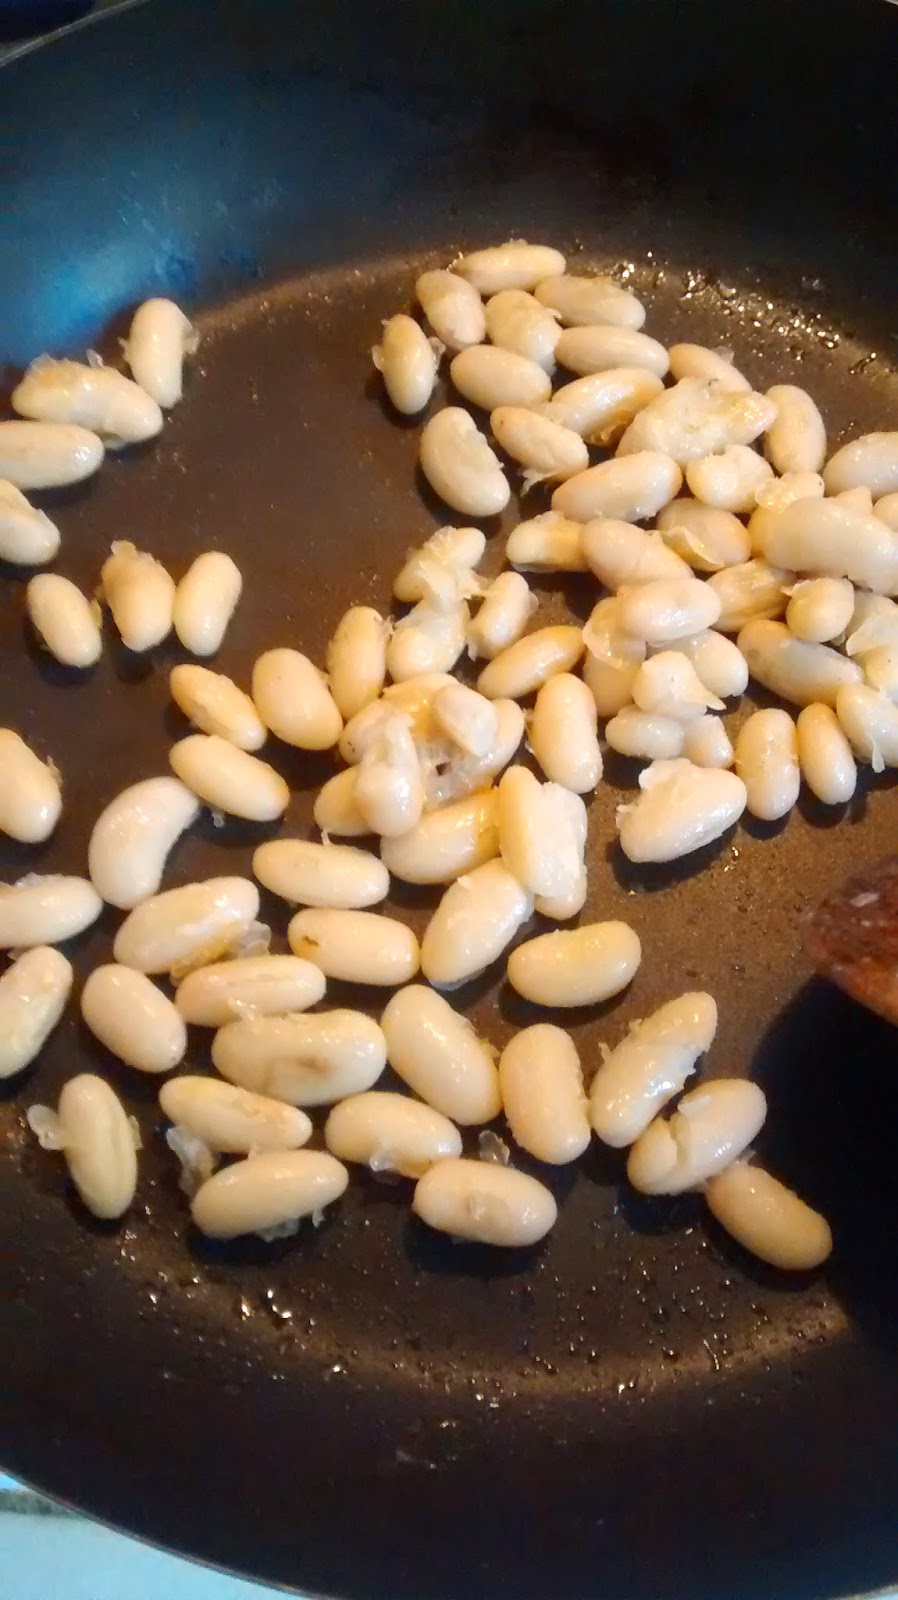
 Chuck the beans into the pan until they look something like this:


 Then shimmy them off to the sides and dump the spring onion in the middle and cook that for a couple of seconds until little bits of it start to get brown from the heat.


 After this, it's time for our star ingredient; kimchi.

 Dig a couple of pieces and chuck them into the pan. You can put in as much as you want, but you want to get a decent amount in there so you can have kimchi deliciousness in a good number of mouthfuls.

This is a good amount
 Stir that around a bit and pour some of the juice onto the beans and stir. You don't need much, a teaspoon or so, maybe. I just guess, and I'm not sure it even adds up to a teaspoon.

 Once you've got the beans cover, dump in the spinach and turn off the heat. Use the residual heat in the pan to wilt the spinach down, and be careful when stirring as the spinach can and will go everywhere.

 When the spinach is wilted to taste, put onto a plate and serve next to a glass of mango Aloe Vera King.


 It's pretty easy to double up with this recipe, but you'll be wanting a bigger pan.

 If you've got access to mat kimchi, you should definitely think about giving this a go.